
自建服务搬家记
编辑
27
2024-12-11
本站之前部署在RN SJC的一台小鸡上,运行了一年多还算稳定,但RN的线路不太好,联通和电信的速度还勉强能够接受,移动和校园网用户连接速度慢如乌龟,所以我决定在新的一年将本站搬迁,正好我也能系统记录网站的搬迁过程。
#准备工作
在新的VPS上创建用户,并赋予sudo权限:
useradd -m hello

chmod u+w /etc/sudoers

# add config

# hello ALL=(ALL) NOPASSWD:ALL

chmod u-w /etc/sudoers
新用户配置ssh秘钥登录:传送门
安装docker:
# Add Docker's official GPG key:

sudo apt-get update

sudo apt-get install ca-certificates curl gnupg

sudo install -m 0755 -d /etc/apt/keyrings

curl -fsSL https://download.docker.com/linux/debian/gpg | sudo gpg --dearmor -o /etc/apt/keyrings/docker.gpg

sudo chmod a+r /etc/apt/keyrings/docker.gpg

# Add the repository to Apt sources:

echo \

  "deb [arch=$(dpkg --print-architecture) signed-by=/etc/apt/keyrings/docker.gpg] https://download.docker.com/linux/debian \

  $(. /etc/os-release && echo "$VERSION_CODENAME") stable" | \

  sudo tee /etc/apt/sources.list.d/docker.list > /dev/null

sudo apt-get update

sudo apt-get install docker-ce docker-ce-cli containerd.io docker-buildx-plugin docker-compose-plugin
针对国内服务器,docker官方源很可能连不上,或者速度缓慢,建议使用tsinghua源安装。
export DOWNLOAD_URL="https://mirrors.tuna.tsinghua.edu.cn/docker-ce"

# 如您使用 curl

curl -fsSL https://get.docker.com/ | sh

# 如您使用 wget

wget -O- https://get.docker.com/ | sh
将新用户添加到docker用户组:
sudo usermod -aG docker hello
docker服务自启动:
sudo systemctl enable docker
创建docker子网:
docker network create gateway

docker network create app

docker network create db
#启动服务
解压备份文件,将www目录拷贝到/下
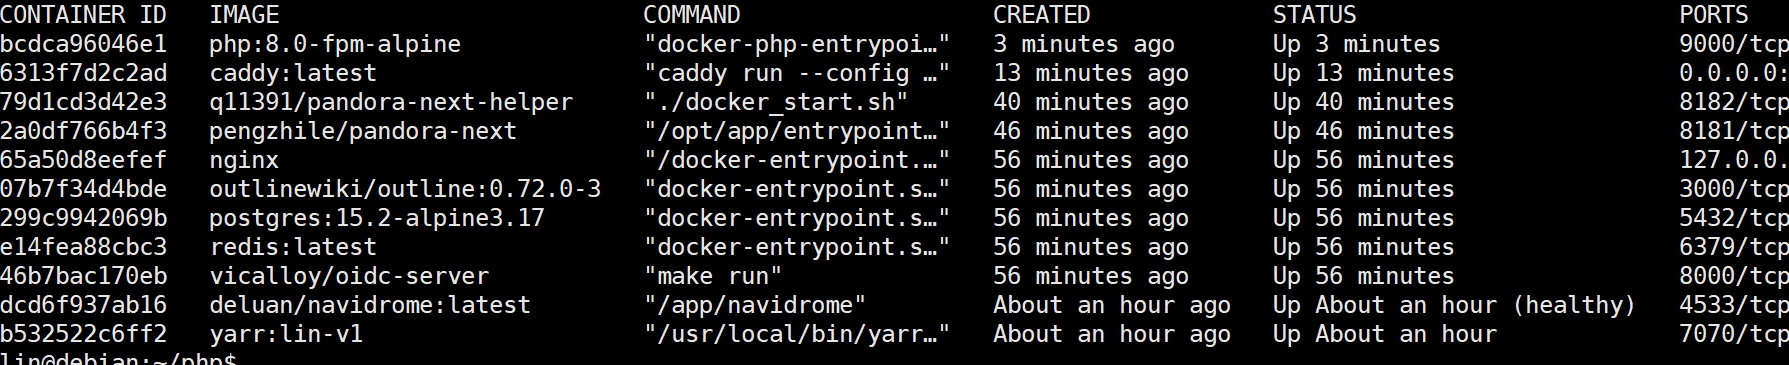
按照db,app,gateway的先后顺序,分别启动三个子网下的服务。最后来一张自建服务的全家福~
#设置备份
下载coscli,并将coscli的配置文件恢复到指定位置
wget https://cosbrowser.cloud.tencent.com/software/coscli/coscli-linux

mv coscli-linux coscli

chmod 755 coscli

cp <cos_config> ~/.cos.yaml
这一步中需要将<cos_config>替换为cos配置文件实际位置,一般在旧机器的~/.cos.yaml处
创建备份脚本backup.sh:
#!/bin/bash

cd /root/

tar -czvf server.tar.gz /helper

coscli cp server.tar.gz cos://server-backup/backup-`date '+%Y%m%d'`.tar.gz

rm -f server.tar.gz
第5行需要备份的文件夹根据实际情况决定,然后给与脚本运行权限:sudo chmod +x backup.sh
添加crontab任务定时执行备份:
crontab -e

# add schedule work

0 3 */3 * * bash <your_path>/backup.sh > /dev/null 2>&1
#检查
经历了上面种种磨难,终于完成vps的迁移工作,接下来就是挨个打开服务,享受新机器带来的丝滑体验了~
- 0
- 0
-
分享